Showing posts with label Ranger. Show all posts

Sunday, 9 February 2014

Time.......to Build It Up at FSC

Happy Sunday friends and I am so excited to let you know that this fortnight I am the Guest Designer over at Fashionable Stamping Challenge............!!!
This fortnight the challenge is "Build it Up" and boy did I go for it!!!.............I love it when I have time to play :-) Its's also important that you only use 3 stamps on your project and you can see that I used 2 of Tim Holtz SA Time Traveller stamps and a sentiments stamp from another SA set. 

There are numerous layers that I have built up.......i.e layered dies, cogs and the time traveller himself. 


As I am in London, returning home today,  I  have scheduled this post and will add on the 'How To' details tomorrow for those of you who like to read them. Be warned there are lots and lots of Photographs...so grab a chair and a coffeee/tea

Take Care and Catch up soon xx


post signature

Monday, 27 January 2014

Nostalgia

So lovely of you to join me here at Curious N CRafty Treasures this evening. It was so nice to have a bit of playtime over the last few days as real life was pretty hectic and I just had to fit in some crafting  time.....I am sure you will understand.
As a huge fan of Robert Burns or 'Rabbie' as we say here in Scotland, DH and I attended a Night of Burns at  The Hydro in Glasgow on Saturday.  One of my favourite Scottish Folk Artists was there, Dougie McLean ( another good Scottish name) as well as two of my favourite bands, Capercaillie and Salsa Celtica ( they play Scottish Music with a latin twist, quite unique) Then yesterday we had a wee Burns Supper at home, with haggis, neeps and champit tatties. Of course there was a traditional nip of whisky, accompanied by recital of  several of the Bards poems and  various attempts at singing!!  All good fun!!

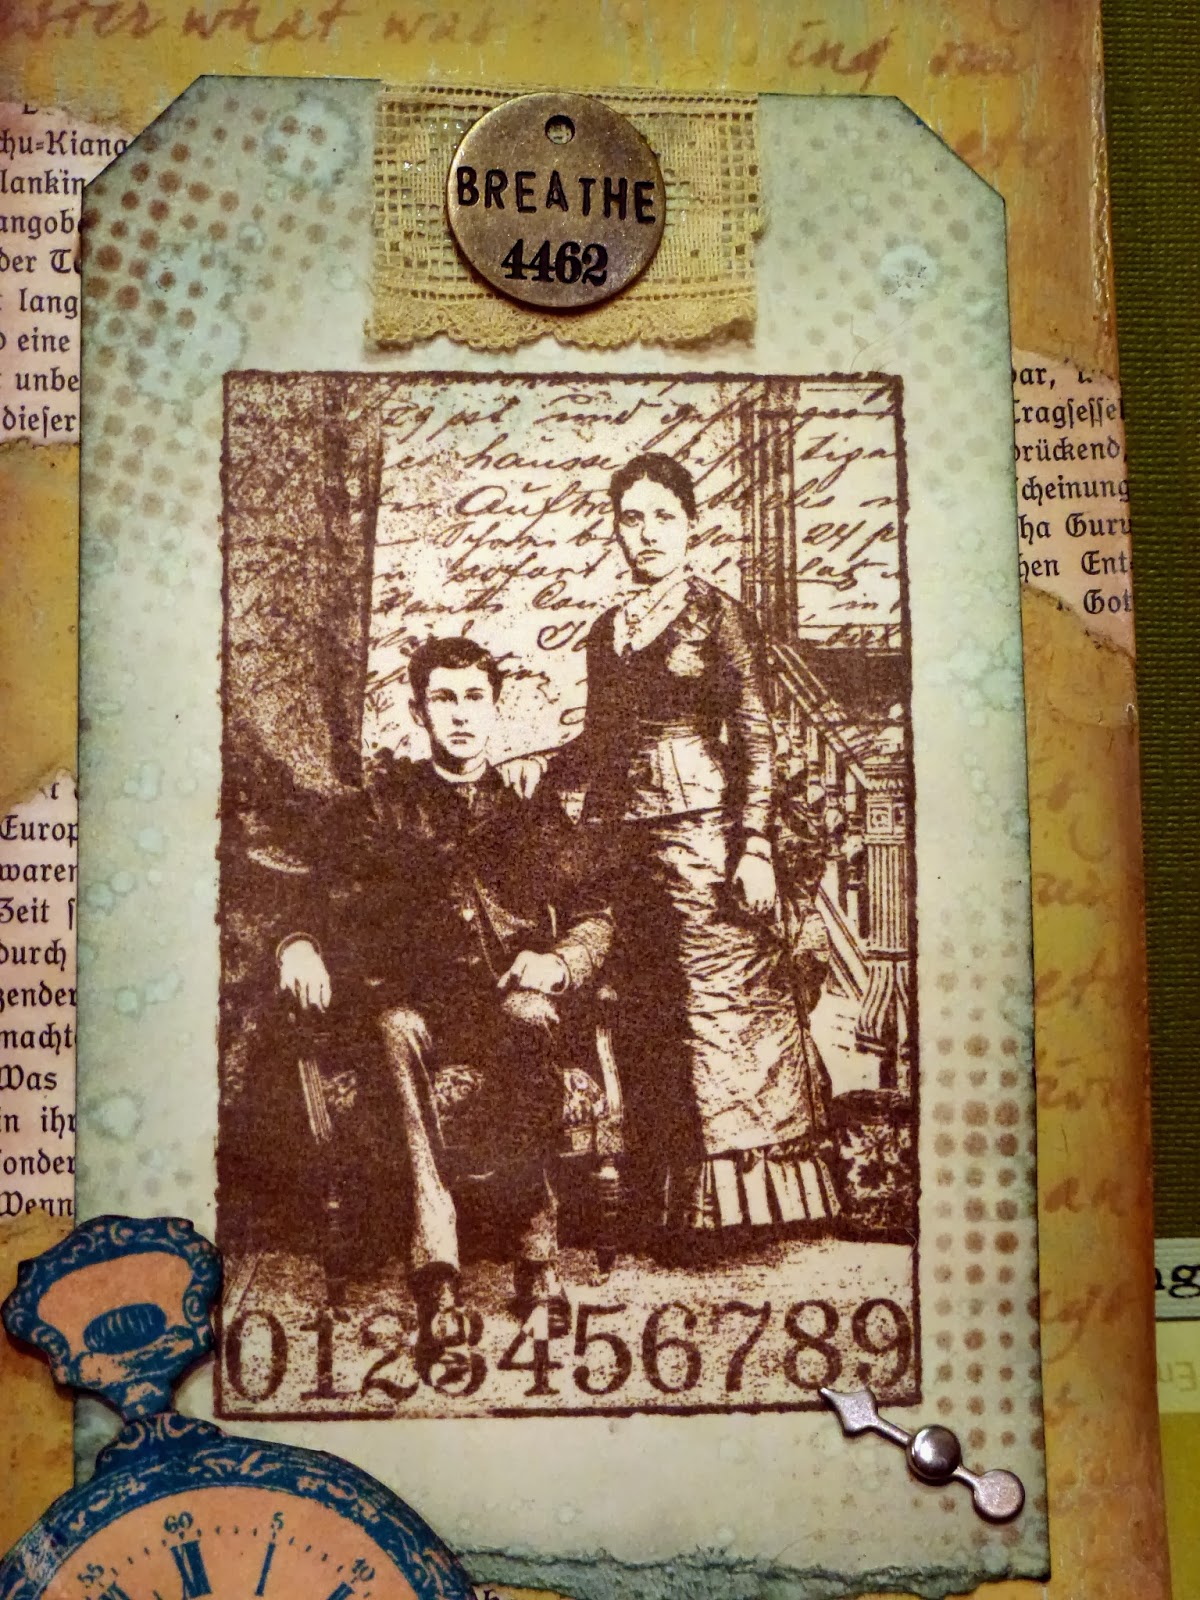
Over at Fashionable Stamping Challenge Blog this fortnight the theme is 'Tag Along' and I just had to play along so away we go with a few photographs of my FSC entry and some explanation of the recipe x
I  used a size 12 tag and started off with some Paper Artsy ( PA) paint in Ice Blue, followed by PA Crackle Glaze. Once dry I painted once again with PA paint in Haystack and watched the cracks appear :-) gorgeous !! 
 
Some old book pages were then adhered with Inkssenials Glue n Seal

I then took a size 10 tag and stamped the Dark Room Door Henry & Harriet collage using WV's Archival ink in Potting Soil, tearing off the bottom of the tag. The image is so nostalgic for me right now as I have been browsing over many old photographs, which I hope to add to a journal........some day !!!
  I added  charcoal to the papers, which I rubbed with my finger, adding some depth and definition to the torn edges and used the Crafters Workshop stencil 'Art Is'
 Distres Inks were used on all of the elements below and on the size 10 tag I spritzed n flicked water. The size 5 tag had some book papers adhered and the sentiment from Dark Room Door Lovely Ladies was added. The pocket watch is also from Dark Room Door. I previously mentioned my love of Tim Holtz Dot Fade stencil and of course it found its way on to this make !!

Once I had decided on the layout I adhered some vintage lace and some Idea-ology charms


To finish I added some vintage ribbon and twine

Well thats it for now and I thank you for staying with me right to the end. :-)

Take care and have a great week

Crafty Hugs xx


post signature

Sunday, 20 October 2013

Mirror Mirror on the Wall !!

Hi Everyone............................its Sunday again and I hope that whatever you are up to you are having some fun. I was very fortunate to have met up with Astrid McLean and my mum ( Rita) yesterday for a lovely day of chat and crafting. We have all joined Creative Chemistry 102  ( CC102) and spent some time with 'The Professor' in between tea and more chatting.........it really was a lovely fun day. 

Today I am fortunate to be spending  some more time crafting as I have a few projects to complete before next weekend. I also wanted to take part in Tim's October tag, which you can see below :-)   You can view Tim's  tag and recipe by clicking HERE if you would like to take part in the 12 Tags of 2013. 

I did have to improvise  on Tim's recipe and will share that with you as we move on through the photographs.


As mentioned the background was completed using Distress Paints you can view in the photograph below. Tim explains the technique on his blog and also CC102. The skeleton is from TH 'Poisonous' stamp set by SA, no CMS 171

I used first, second and third generation stamping. 

You can also see stenciling top left and lower right using Tim's new Shatter stencil. I took some Vintage Photo and lightly "danced it around" as Tim would say. 


Another view of the shatter stencil below.

 Distress Paints I used in the marbling technique :-)   

I was lucky enough to have Tim's new Sizzix Ornate Frame die but I did not have any of his new glitter. 
Fear not !!!!  Last year Tim demonstrated how you can alter the colour of glitter by using  Alcohol Ink...see HERE.    (I used Eggplant AI)
I love Tim's Skull stamp, which I cut out and distressed with Vintage photo. I went over the teeth with Picket Fence Distress Marker, outlining them in black. The little mustache was a gift from my crafty friend Anita Houston.  The spiders were in my stash from last year and fitted this  project perfectly.

When I placed  the frame over the skull it looked to me like a mirror, with Mr Skull ensuring that his moustache was trimmed to perfection !!!! Such a Handsome Chap !!!! Mind you he also looks like he is going to sneeze ! Maybe that feather is tickling his nose !!

As I did not have the  Sizzix owl and moon dies that  Tim used  I improvised with the TH Movers and Shapers mini inkwell and feather die. The little bottle was cut out in black card and then some glossy accents was adhered. The feather was inked with Vintage Photo and Black soot around the edge.  


After dying the crinkle ribbon I decided to stamp the skull on to some clear shrink plastic to create an embellishment for my tag.  I used Jet Black Archival Ink to stamp on the plastic and was careful not to smudge it before drying/shrinking it with my heat tool.  ( Remember to punch a hole before you shrink it.)

I then added an idea-ology jump ring and safety pin to complete the look. 

Hope you like my fun tag...I certainly enjoyed the creativity and it was nice to use various techniques that I had not used in a while. 


As this is my  very own take on Tim's tag I would like to enter  the following challenges :

Stampotique Designer Challenge whose challenge is Halloween and Our Creative Corner, whose theme is Halloween, Lets Tag It On

Off to do some  visiting as well as tidying up on the blog before I sit back down to other crafty makes that I have on the go. Catch up soon x 

Best Wishes and Crafty Hugs 

post signature

Saturday, 12 October 2013

Cabinet Card/album

Morning everyone .....................thank you for visiting here at my little corner of blogland and a huge welcome to new followers. I am so thrilled that you have joined me here x

Today I am sharing a Cabinet Card that I made in September for a colleague at work. She wanted two cards for family who have similar interests.

The dies are from Sizzix and I used various TH papers and stamps from my stash.


Have a great weekend whatever you are up to x

Best Wishes and Crafty Hugs xx
post signature

Saturday, 9 February 2013

Love is in the Air !!!!!

Hi Everyone....thanks for visiting today. Can't believe its Saturday once more !!! Weeks are just flying by.  Its  so great to see that the nights are getting lighter x 

Below is my project for three fabulous challenge sites where I love to take part.   They are Fashionable Stamping Challenge, whose challenge theme is 'Show Some Love'.


For this make I used Ranger tag size 10. To make a lacy background I used  TH Stamper's Anonymous Wallpaper Stamp, inking with Sepia Archival ink. I then distressed the edges of the tag using the paper distressing tool.  Some Distress Inks were blended over the whole tag, paying particular attention to the distressed edge. With a darker embossed edge the colours are more defined.


You can see that I cut the bottom of the tag and then re-attached it with Ideaology rings.

The stamped image below is from TH Stampers Anonymous Classics 8. I Used some DistreSs markers to colour in some areas of the stamp, which was also distressed along the edges with the paper distressing tool, then DI's were blended, namely Vintage Photo, Peacock Feathers and Rusty Hinge.


The heart is from Tim's Stampers Anonymous Classic 7 set. I stamped in Red ink and coloured in some florals with Distress markers. Vintage Photo was blended over the tag and the edges were also swiped around the edges.


The wings are Sizzix TH Layered Angel Wings, which are stunning. They were blended with Vintage Photo DI and then edged with Festive Berries as I wanted to tie them in with the red heart.


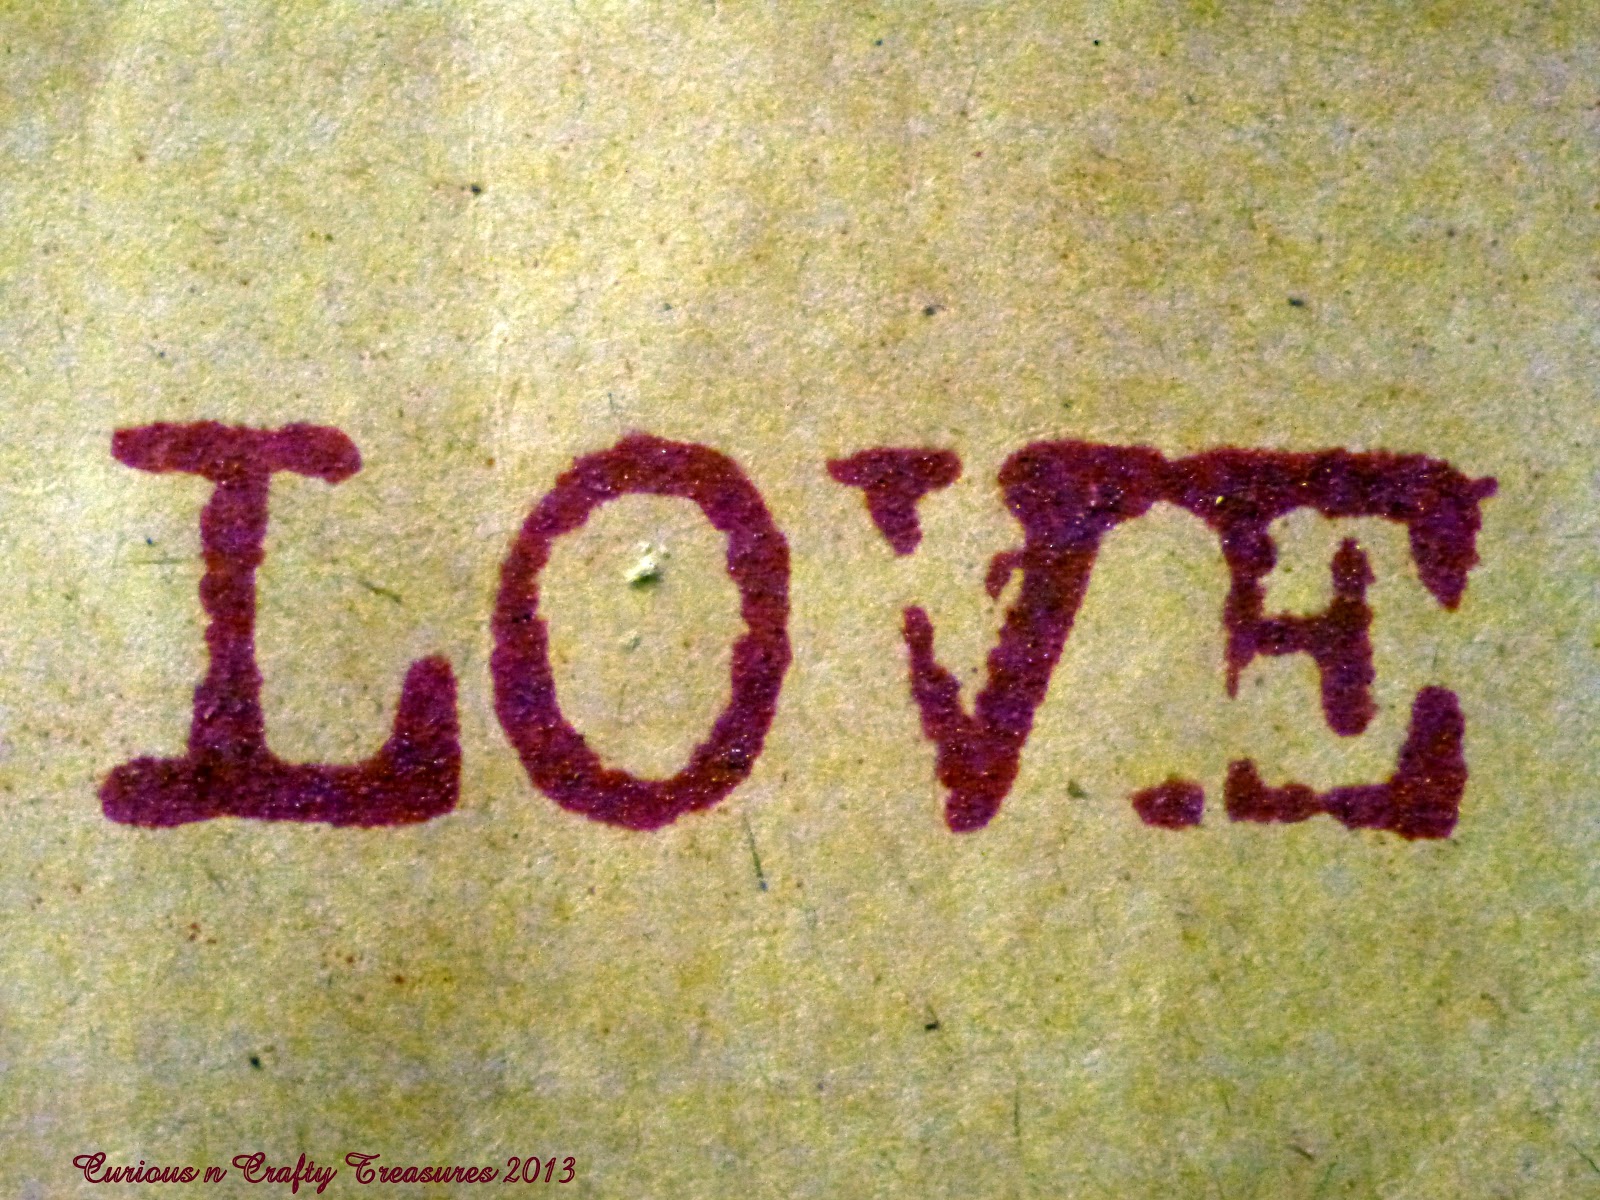
The smaller tag was stamped with red ink using the word Love. I added Fired Brick Distress Embossing Powder, adding texture. The tag was also distressed along the edges and blended with DI's.

I love the Distressed embossing powders as they are so different from embossing powders which are smooth when heated. 


A die cut crown was smooshed with Metallic Distress Stains in Antiqued Bronze to complete


Hope you have a fabulous weekend and I hope to catch up with you soon.

Hugs
post signature

Thursday, 31 January 2013

Warm Layers.........no jumpers !!


Welcome  to everyone............especially my new followers !!! I am thrilled that you have joined me on my journey in Blogland.

I am so fed up with the wind and rain the last few weeks so decided to create a  quick tag using warm colours, layers  and various Distress Inks.

You can find the technique 'Faded Layers' in Tim Holtz Compendium of Curiosities Volume 2, page 43.

I did have a 'Happy Accident' when tying my ribbons. My own fault as I did not use the rings on my  Sizzix die cut tag and pulled the ribbons too tight !!

However, I just cut the top off the original tag and layered it to another, which I inked with Rusty Hinge DI...........lovely and warm :-)  added some twine, adhered with Ranger Wonder Tape.


I used a variety of Tim's Stampers Anonymous Stamps and an Ideaology Mask to create the layers.
There's a touch of Distress marker's too, which I diluted with my water brush.

It was really fun and took my mind off  the horrible weather for a while. Like many of you in the UK and Europe I am looking forward to sunnier climes.

As always thank you for taking the time to visit and if you leave a comment I will repay the compliment. 

It will be my  1st Blogaversary in a month and I plan to have a giveaway to followers so please pop back for more details.

Crafty Hugs as always

post signature

Wednesday, 28 November 2012

Vintage Christmas... only 27 sleeps to go !!!!!

Hi to all my followers old and new.  What a fabulous time we had in London and Andrea Bocelli was absolutely wonderful. The concert was amazing and we were  very fortunate to be sitting  in the front five rows from the centre stage. A modest man with a very gifted voice.

Although I have not been blogging I have been crafting....and stupidly forgot to take a photograph of my sister in laws card las Thursday. Then there was the Christmas shopping at the weekend !!!! I am afraid I dont like shopping and never even  entered any stores when in London.!!!

I hope you like my Christmas Wall-hanging, which is an upside down size 12 tag from Ranger.

I inked it with vintage photo and aged mahogany DI's then flicked it with water before stamping with the pine branch stamp/Santa stamp from Stampers Anonymous TH 'Letters to Santa'.
I really wanted to create a vintage feel and just love this Santa image.


I cut the bottom of the tag and stamped Merry Christmas ( PSX stamp- F245)

As you can see I made some holes with my Crop-o-Dile and linked in some idea-ology rings to rejoin.


The baubles are Tim Holtz Carved Ornaments die from Sizzix. I stamped the baubles using  an Inkadinkadoo stamp ( 1004) then inked with evergreen bough and vintage photi DI. I wanted a dimensional look so cut out two of each die, folding one down the centre and then attaching it to the other. The tops of the baubles were stained with antique bronze distress stain.


As always thank you for taking time to visit and to leave a comment. 

Hope you are all having  inky fun getting ready for Christmas.

Take care...Crafty Hugs
post signature

Tuesday, 28 August 2012

Tag and Tattered Flowers

Hi Everyone

This is a tag that I made for Tim Holtz 12 Tags of 2012 and  the Fashionable Stamping Challenge.

Many of us are huge fans of Ranger and Tim's techniques/creations. I try to participate as often as I can in the 12 tags of 2012 and below you can see my take on Tim's tag for August.


August Tag


I improvised Tim's tag as there were several items that I did not have, however,  by swapping some of the techniques around I was still able to meet the challenge.  Techniques for the August Tag are available on Tim's blog by clicking HERE.

As I did not have the folders Tim used I used an oval tag and  another sizzix embossing folder. Instead of a stamped frame I used a die cut frame, inking it with Dark soot DI and then clear embossing.  I used a crown stamp in the centre of the aperture, instead of the shadow  stamp image Tim used.

The handmade tattered florals were made using Sizzix TH die cuts and kraft card. This is the first time I have made these flowers and I had great fun.

Over at Fashionable Stamping this week  challenge  29 is  Anything Floral/Handmade Flowers.
As always the DT have created fabulous inspirational pieces and its  always fun to enter.

Crafty Hugs as always


post signature

Friday, 8 June 2012

First Ever ATC make

Hi Everyone. Hope you are all ready for the weekend. As many of you will know, last week was the 3rd Anniversary of WOYWW and although I posted a photo of my work desk, I was not aware of the sharing of ATC's to celebrate this amazing occasion.  However, I was inspired to make an ATC for two very kind crafty friends who sent  their  crafty makes to me, Redanne and Twiglet. ( I was so delighted : ) )  I had never made an ATC in all my crafting years....of which there are many !!. But here we are !!

Below you will see that  I once again used the rusting technique on  Sizzix TH die cuts and a key stamp from Oxford Impressions !!!  ( obsessive or what !!!) The Follow your Dreams sentiment was obtained at  a 'get together and share' event with crafty friends. The background was stamped using the script stamp from TH Stampers Anonymous 'Letters to Santa'. It was then inked with various distress inks. Red ink was applied to one of the stamps from TH Stampers anonymous mixed media collection stamps and placed over script.
( you can just about see it  under the  top left cog) The hand and sentiment are from TH Stampers Anonymous 'Warehouse District'.  The small word embellishment is from my stash. I punched holes in the ATC and applied some twine, which can be removed or replaced if desired. 

Thank You for taking the time to visit my blog and leaving such kind comments. They are really appreciated and I shall always try to get back to you.

Take care and have a good weekend. 

Annie x